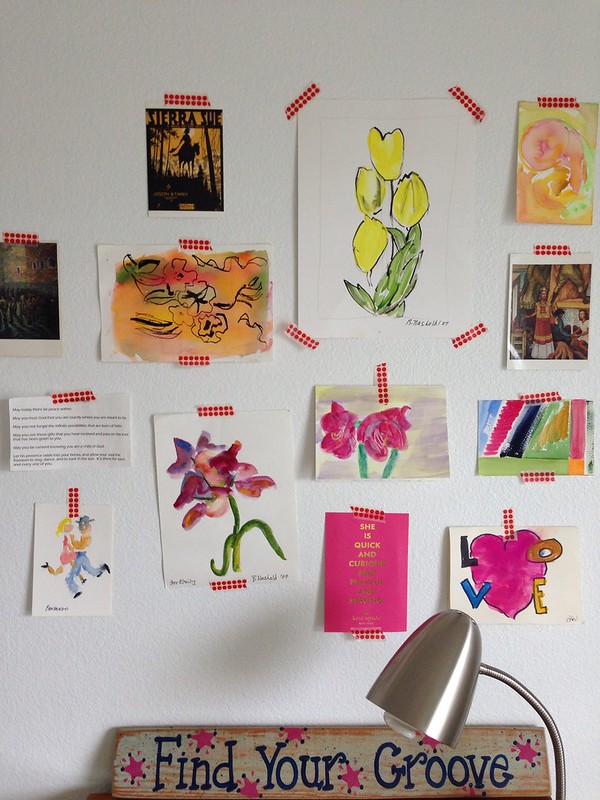
Hi there! Hope everyone had a great Monday! As I promised you last week, I have a fabulous DIY in store for you today! This came about because I have been wanting to add some sass in my life lately. Also, I had a collage of art and notes to self above my desk on my wall, and the tape I have has not been adhering well to the wall so my collage has been falling down. When I took everything down, my poor wall looked so sad! So I grabbed a canvas I had not used yet, bought a tube of metallic gold Folk Art brand paint from the mart for a whopping $1.97 and got to town.
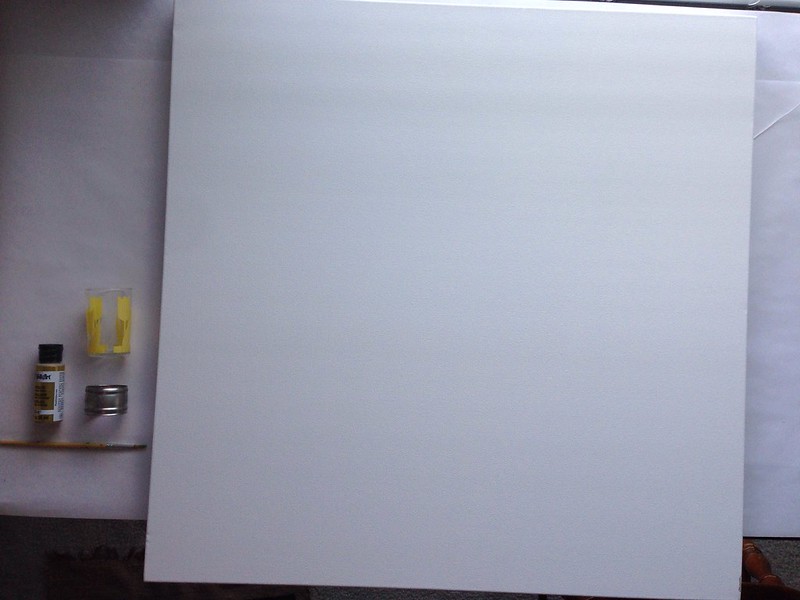
The canvas I used was 30" by 30", but really any size will do. If you want to use something that big I suggest going to jerry's artarama when they have their canvas sales (I got this one for about $15, when usually its about $60 - $80). You may also find a decently priced one from dick blick art store online. I am not a huge fan of purchasing art supplies from non-art specific stores because believe it or not- the items are so much more expensive elsewhere.
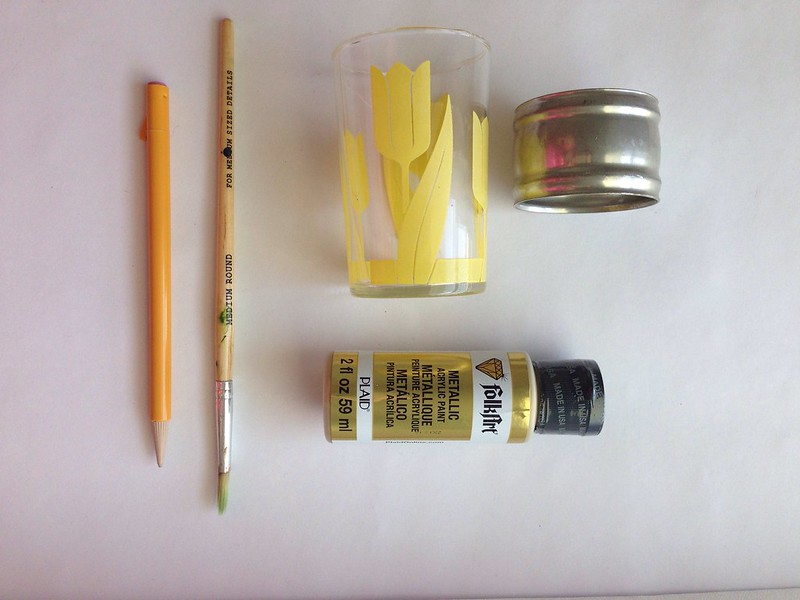
You'll need a pencil, and a few objects that create the size circle you'd prefer. Or if you're real fancy you can use a template. I wanted to keep this project as inexpensive as possible (ie- almost free). You can find the Folk Art brand paint at any craft store, and you can probably find it at your Wal-Mart (thats where I found mine). As I said before, it should cost you less than $2. I also used a paint brush with a pointed tip but you can buy pouncers for relatively inexpensive. The 'mart had a pack of different sized ones for $5.
Place your template/object down on your canvas and very very lightly trace around it with your pencil. Pencil is difficult to erase from canvas so be very light-handed with this.
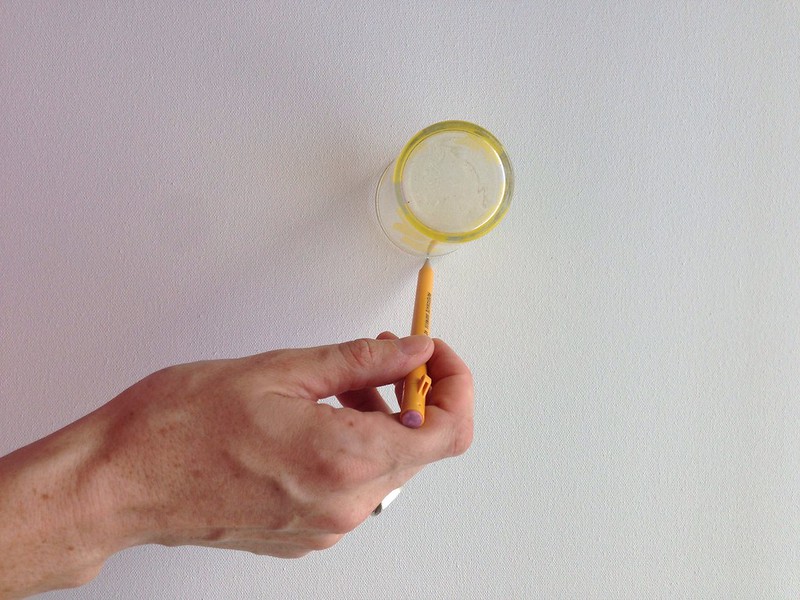

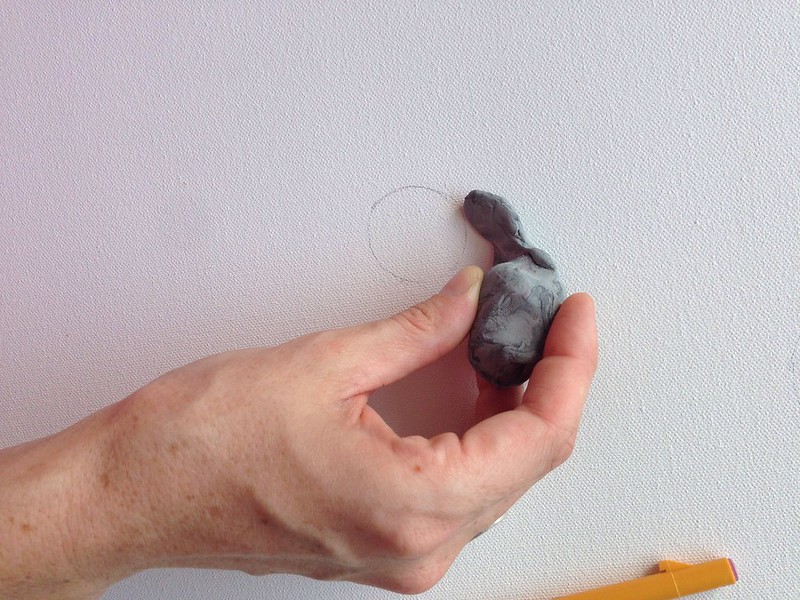
Correct the edges/lighten them up with a moldable eraser. I prefer these as they are the best and they don't rub off a layer of the paper/ canvas you are erasing from as traditional erasers do. You can get these at arts/craft stores and are less than $1.
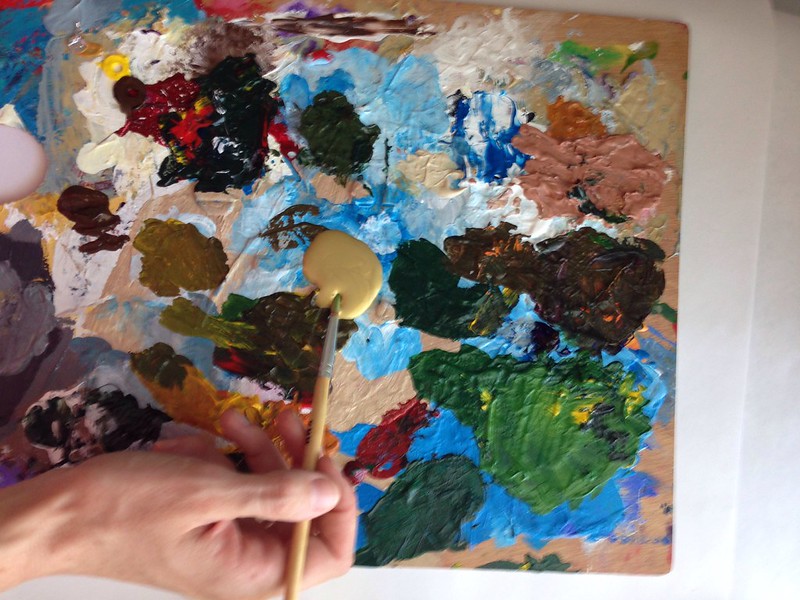
Get you some paint on your brush.
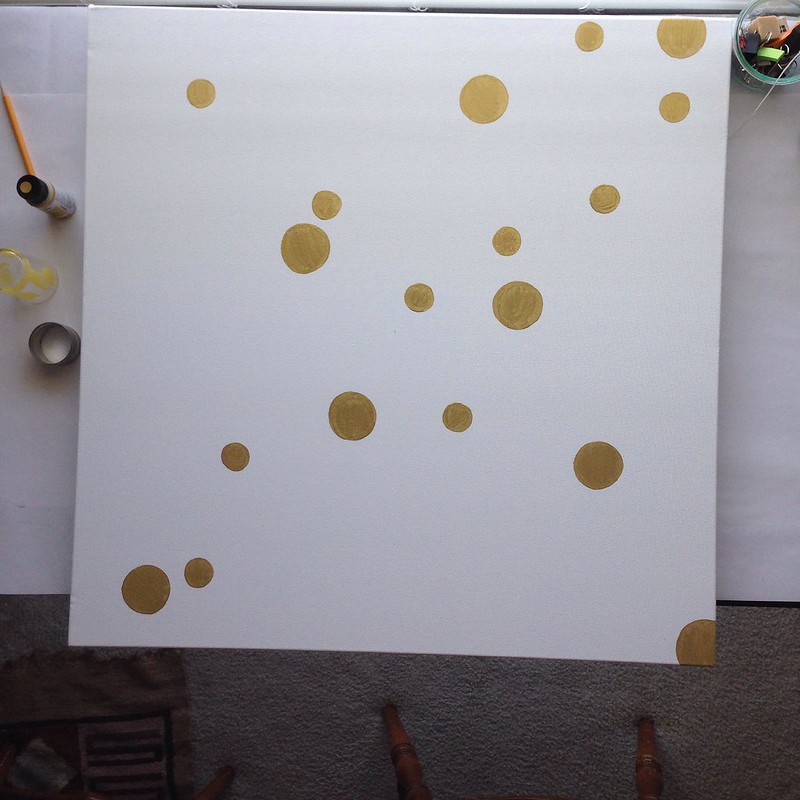
Paint! I like to trace the edge of the circle first with the paintbrush very slowly to start with. Then I fill in the dot.
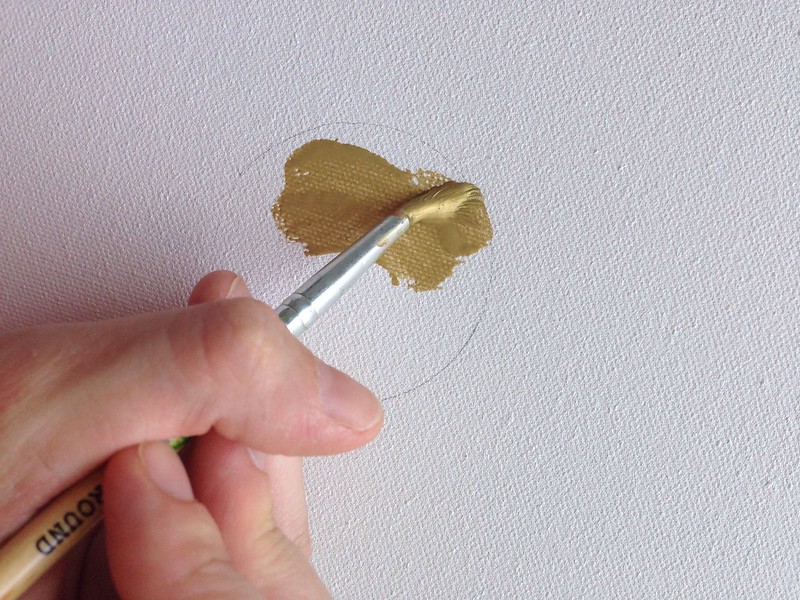
I trace out everything first and fill in the circles. I go form top to bottom, right to left so I am not stuck painting at a funny angle to avoid dragging my hand through circles I've already painted. Also, you'll want to paint a very thin layer and smooth out the paint as much as possible so the circles are not too textured. Once the first layer has dried, go back over it with a second layer, smoothing the paint out again.
If you accidentally drip paint on the canvas where you did not want it to go, quickly grab a cloth rag and wet it and wipe off the wet paint. It should come right out.
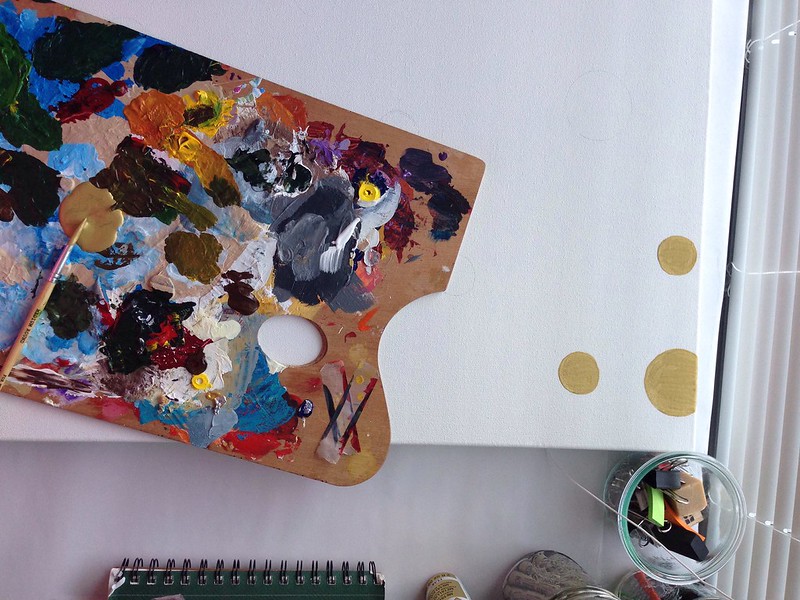
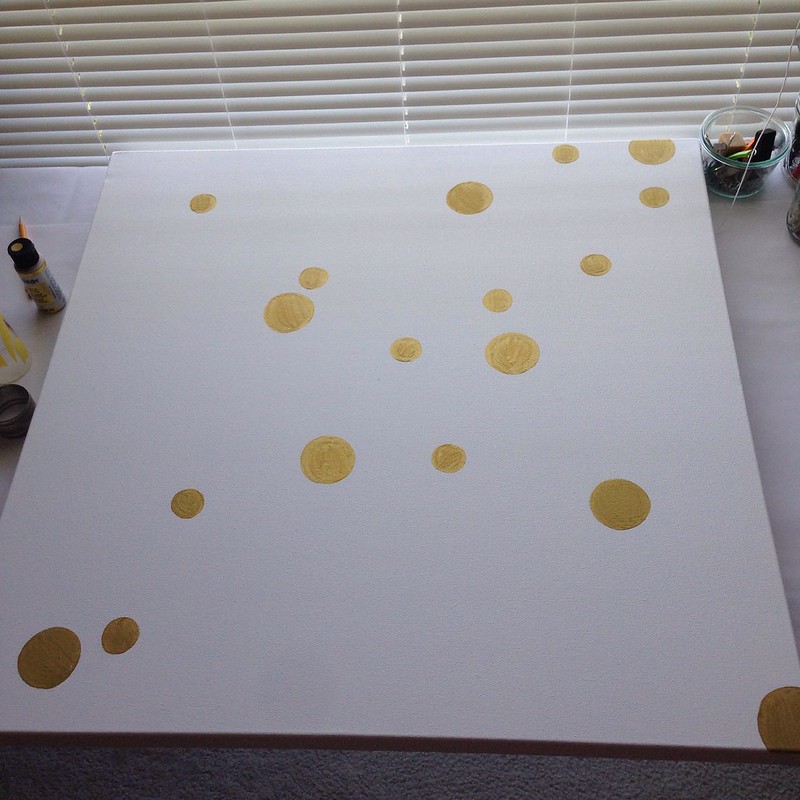
Check and see if you want to add any more circles.
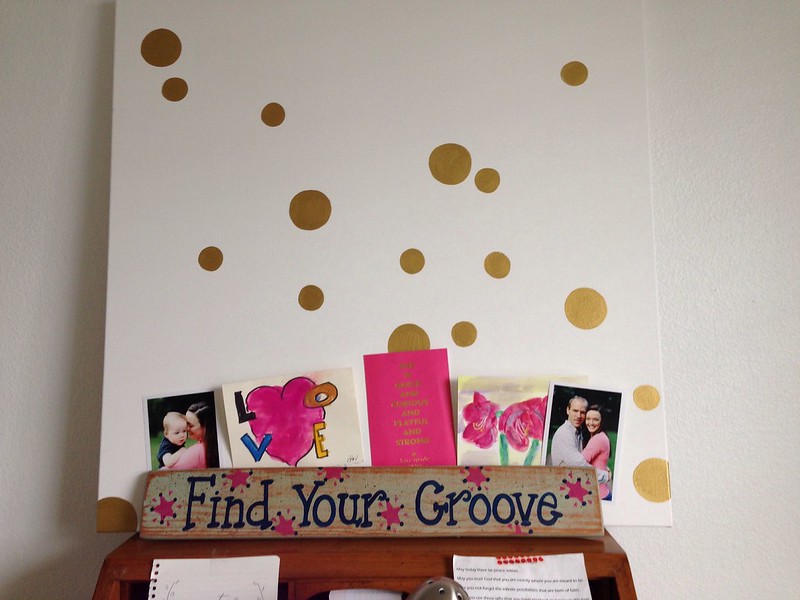
Once it is totally dried, you can hang it! For the time being I rested it up against the wall over my desk. Once I find some washi tape that sticks well ( what I have is really cheap and not good), I'd like to tape my art and photos up onto the canvas. But I do like the way it looks now.
The thing I love the most about this project is that it took so little time and effort and it adds so much to my plain-white studio. I get irritated when I see a "free" or "super cheap" DIY when really the person used a TON of things they already had from previous projects - and the project really would cost a lot to make if you don't have the things on hand. If you can't find a large canvas on sale- you can go to Home depot /Lowes and get a piece of pre-cut plywood and paint it white prior to adding dots to it. That will run you about $14 for the wood (or a canvas on SALE), $5 for white paint, $2 for the gold paint, and about $5 for a brush or pack of pouncers. And if you do have a canvas- you can omit the white paint.
Hope y'all love it! I would love to see how yours turns out and how you style it! I got super excited when I finished and ended up making another one for myself- which you can see here.


No comments:
Post a Comment